Ways to Get a Better HDR Experience in Windows 11
If you care about having the very best visual experience on a screen, you’ll want to make the most of HDR (High Dynamic Range) on Windows 11. It helps provide the most realistic images, with deeper and darker blacks and brighter whites, and it’s great for gaming or watching movies and TV shows.
But the default HDR experience doesn’t always work exactly as you’d hope. So, here’s how to get better HDR in Windows 11.
Method 1: Use the HDR Calibration App
Some users find that the default calibration settings in Windows 11 HDR aren’t fully optimized for their displays. To address this, you can use Windows’ own HDR calibration app to manually calibrate:
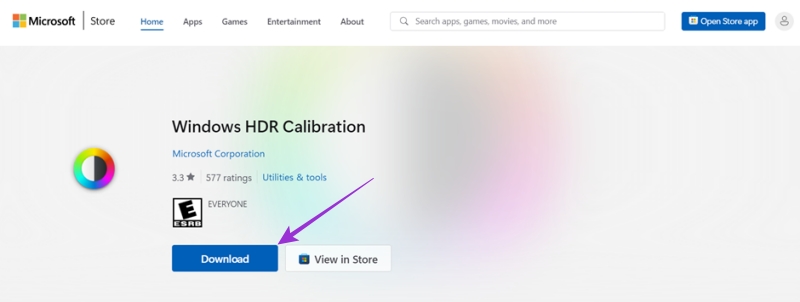
Step 1. Download the calibration app from the official Windows Store or website and install it.
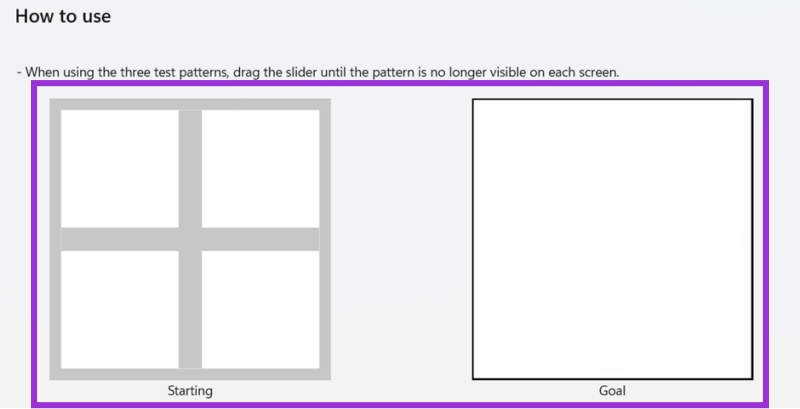
Step 2. Launch the app. You’ll see a slider and series of test patterns. Your goal is to drag the slider to the right position where the pattern no longer appears.
Method 2: Adjust Your HDR Settings
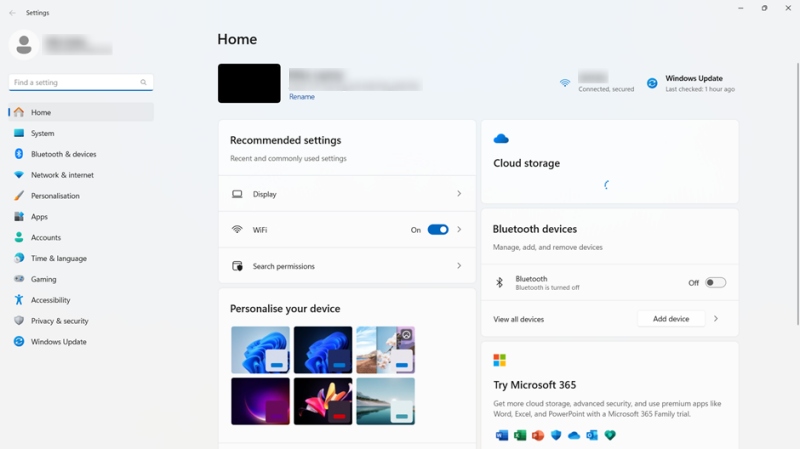
You can modify your HDR settings without downloading any extra apps or tools via Windows’ own “Settings” menu.
Step 1. Head to the “Settings” menu using the “Windows” and “I” shortcut or via your Start menu.
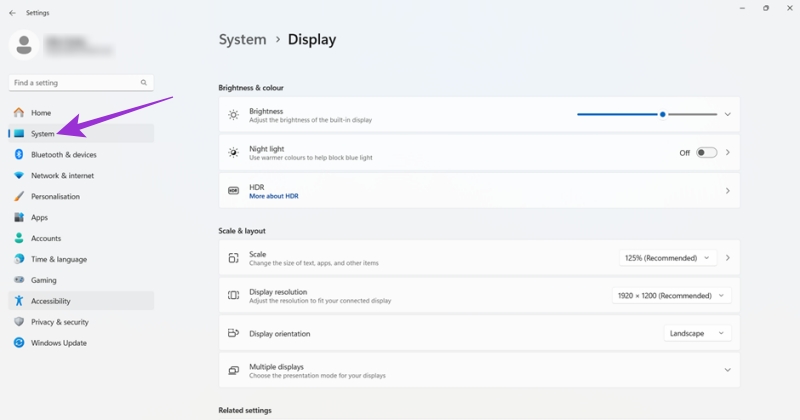
Step 2. Click on “System,” then “Display.”
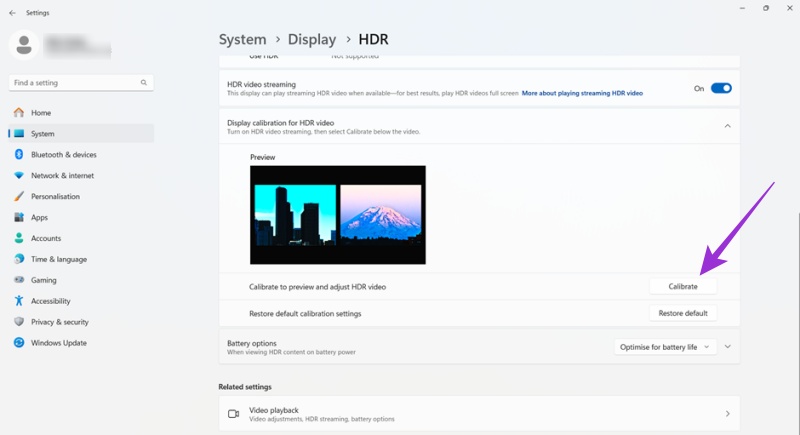
Step 3. Go to “HDR” and use the various buttons provided to adjust your HDR settings. You can click the “Calibrate” button to access a helpful slider that controls the intensity of the HDR, and you may also see options to enable or disable settings like “Auto HDR.” It’s best to leave “Auto HDR” enabled, so Windows will activate it as needed when you load up a game or watch a movie.
Method 3: Adjust Your External Display Settings
This method is for when you’re connecting your computer or laptop to an external HDR-enabled display. Often, your computer’s default HDR settings may not work perfectly on other displays. Fixing this will depend on what kind of display or TV you’re using, as every brand and model comes with different settings. Here are some general steps:
Step 1. Using your display’s remote control, access the settings menu.
Step 2. Look for a section with a title like “Image,” “Image Adjustment,” or “Display Settings.”
Step 3. Adjust the various sliders for aspects like brightness and contrast to get the image the way you like it.
Note, too, that the HDMI cable you use to connect your device to a TV or display may impact the image quality. Investing in a better quality cable may improve your HDR visuals.
Method 4: Watch in a Darker Space
HDR works best in dark conditions, not brightly-lit rooms. So, if you want to watch a film or play a game with peak visual clarity, turn off lights you don’t need and draw the curtains beforehand.
Method 5: Make Sure Your Device Is Up-to-Date
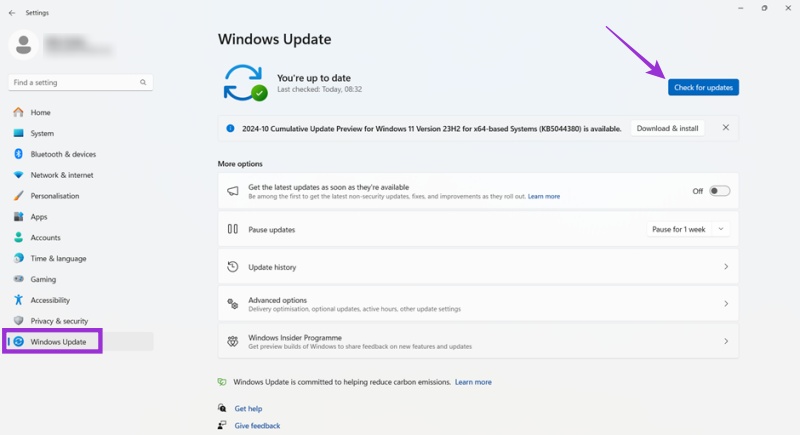
It’s always worth ensuring your Windows 11 device has the latest updates to avoid random bugs and other problems.
Step 1. Go the “Settings” menu.
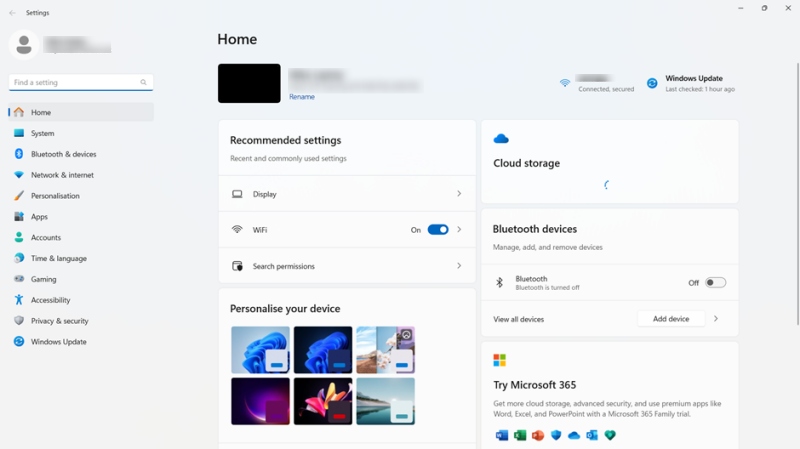
Step 2. Click on “Windows Update” and then “Check for updates.” If any are found, install them and restart your device.
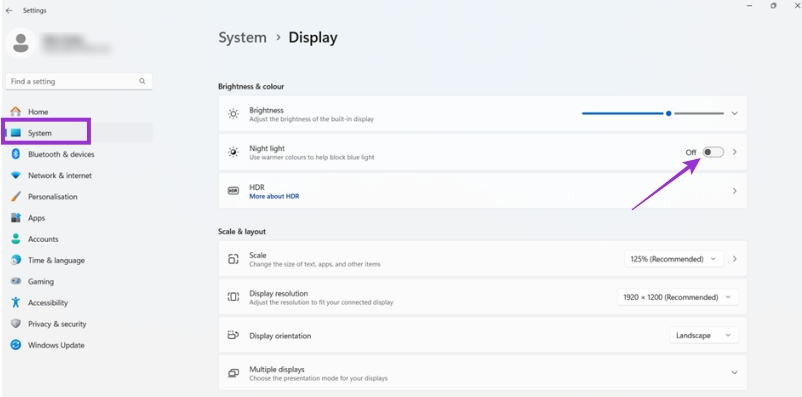
Method 6: Disable the Night Light
On some devices, the “Night Light” feature automatically switches on at certain times of day and can impact your viewing experience in terms of brightness and contrast. It can make the HDR experience feel less detailed or under-saturated.
Step 1. Head to “Settings.”
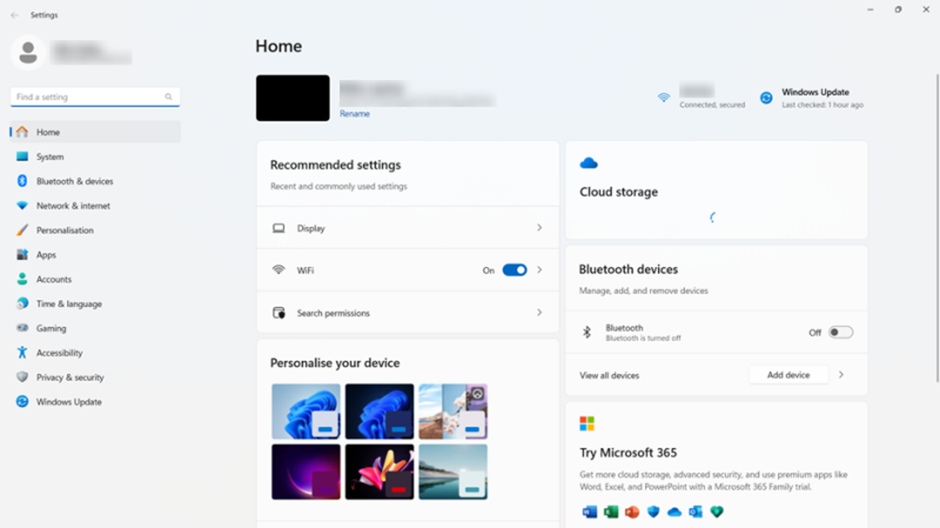
Step 2. Click on “System,” then “Display.” Look for the “Night Light” feature and toggle it off.
