How to Manage 4K Display Scaling in Windows 10

Now that high resolution displays are more affordable and prevalent than ever, it’s important to understand how to configure Windows to ensure the best experience at 4K resolutions and beyond. For years, traditional “standard resolution” displays were typically handled by Windows in a 1:1 ratio, with your PC’s video card providing one pixel of the actual user interface for every physical pixel on the display. This worked well for resolutions up to 2560×1600 on an adequately large monitor, but once you get into the 4K resolutions of today’s high-end monitors, a 1:1 pixel ratio — or 100 percent scaling, as Windows refers to it — produces an image that is unusable in most circumstances. The answer, therefore, is to make the user interface relatively large enough to be useable while still taking advantage of the millions of extra pixels available on high resolution monitors — something called display scaling in Windows (you may also recognize this basic idea from what Apple calls “Retina” resolutions). Here’s a quick look at display scaling in Windows 10.
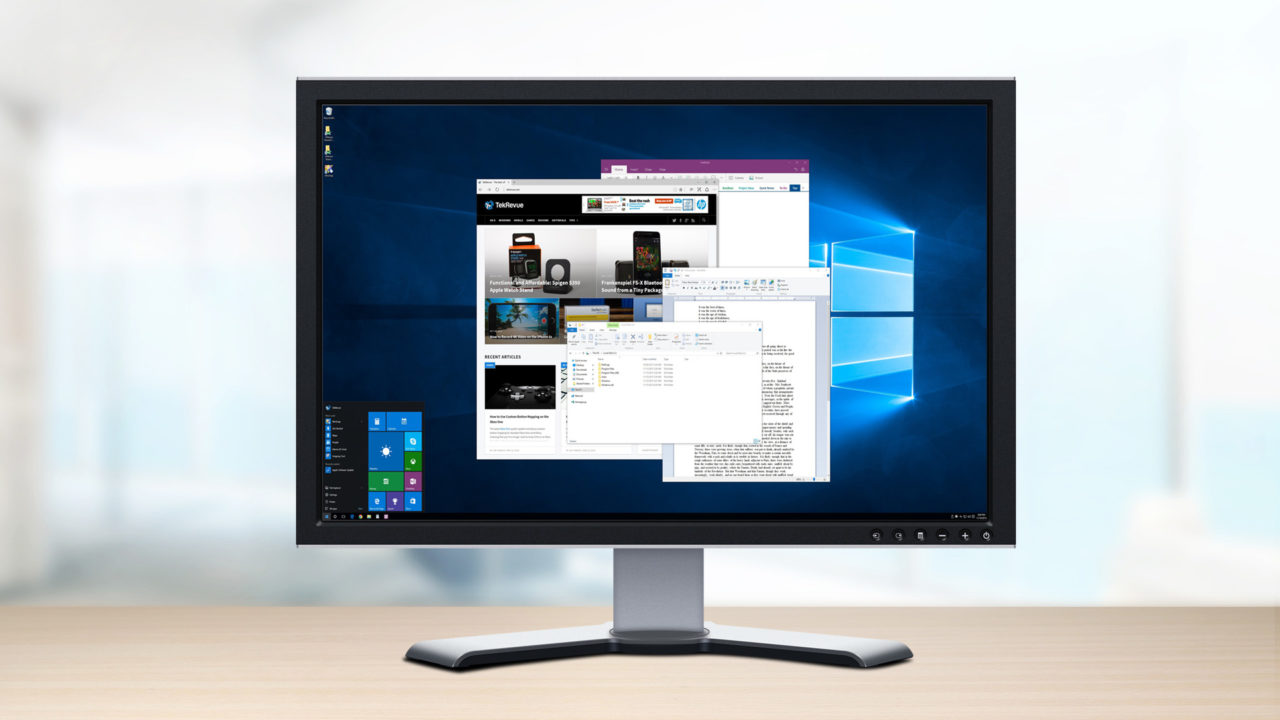
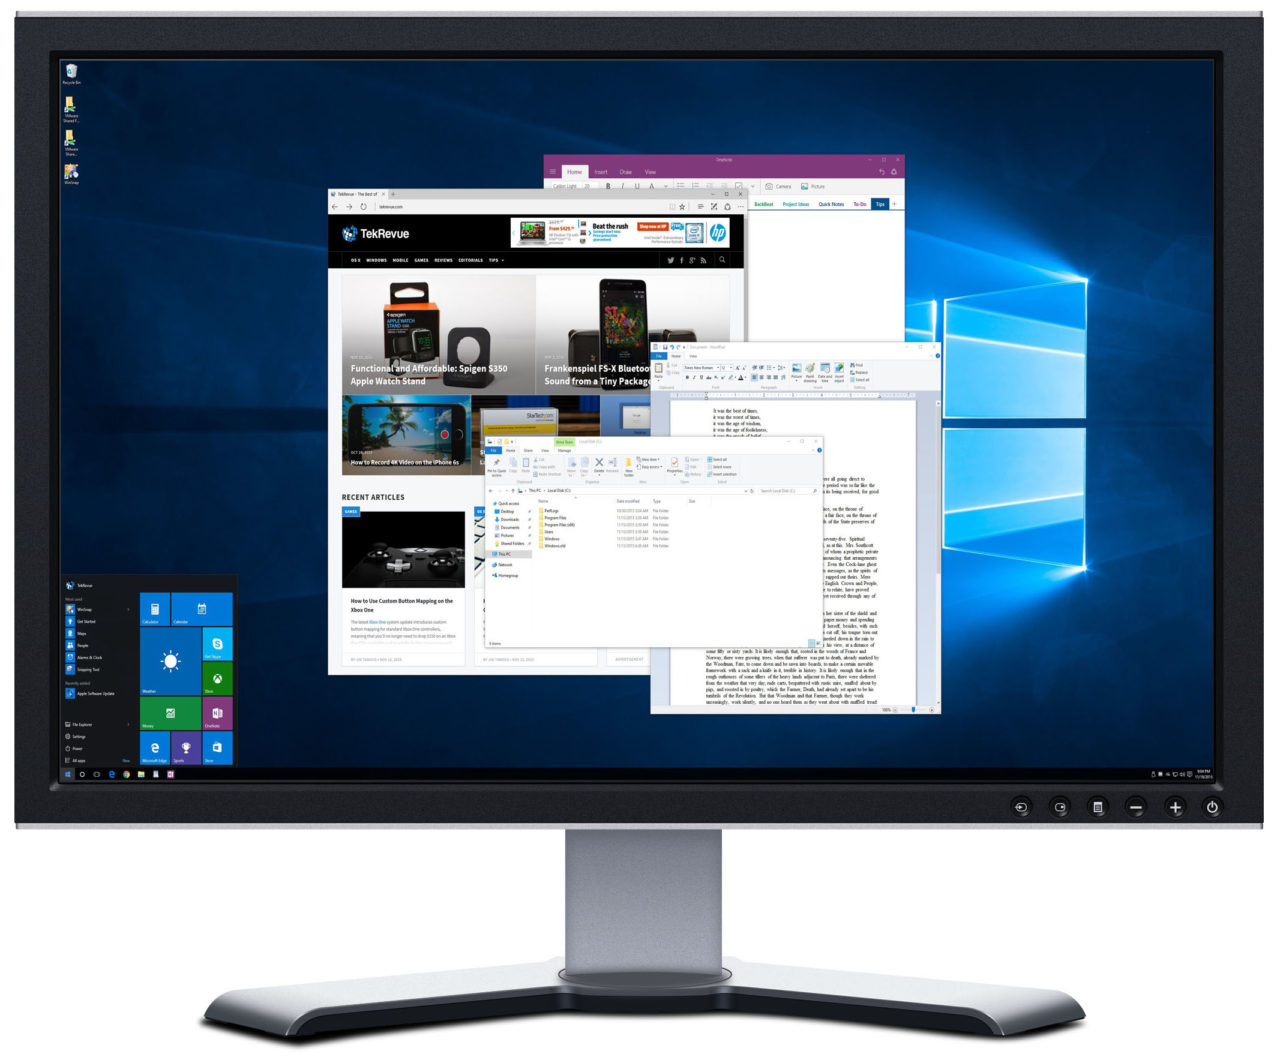
First, let’s look at an example of why display scaling is needed in most cases when using a high resolution display with a Windows 10 PC. In our example, we’re using a 27-inch 4K monitor with a native resolution of 3840×2160. With 100 percent scaling — that is, a 1:1 pixel ratio — the Windows desktop and user interface appears tiny, and is likely too small for most users.

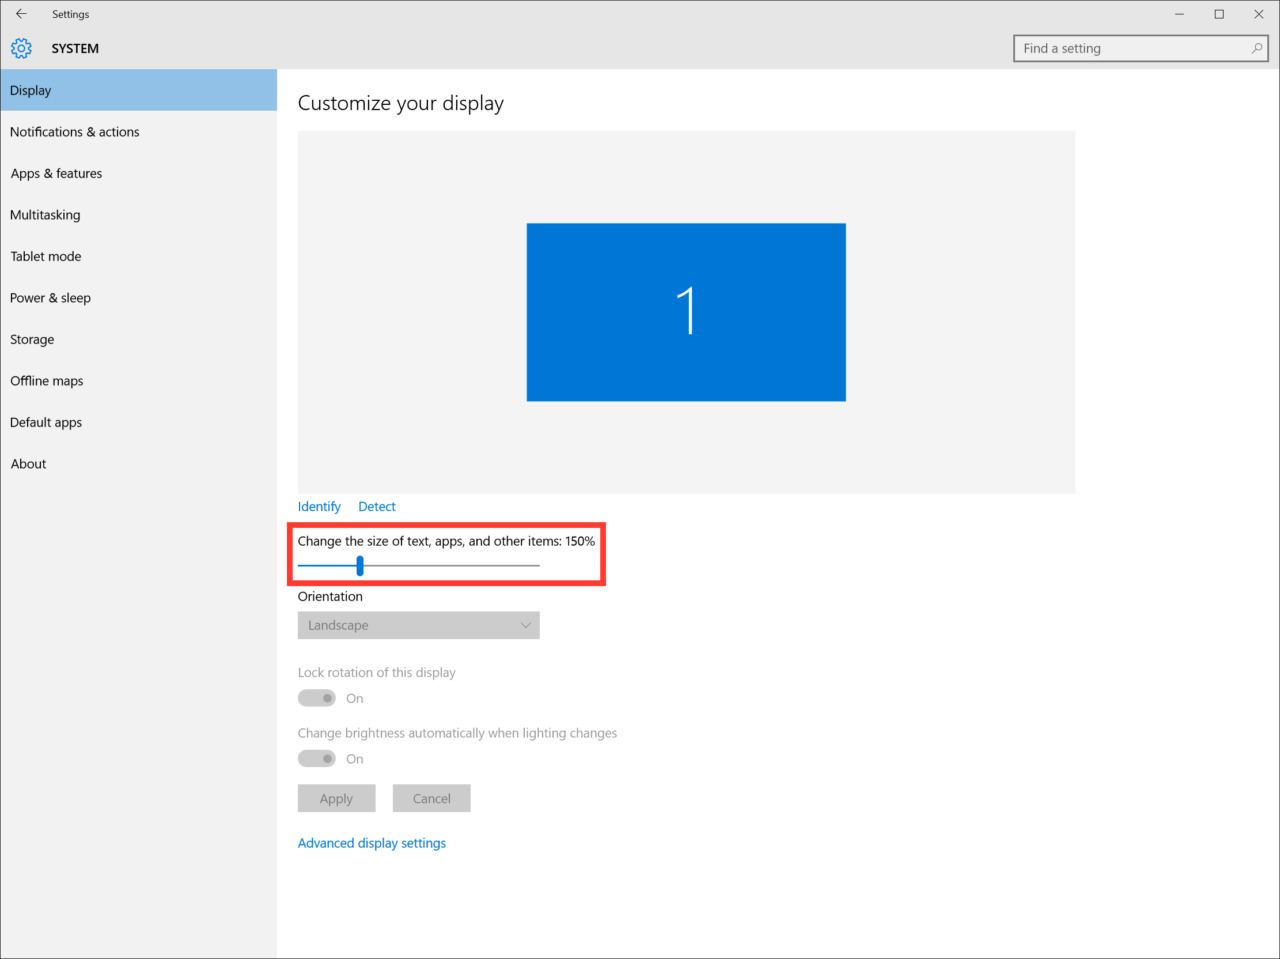
To fix this problem without giving up on our 4K monitor, we can adjust Windows 10 display scaling options in Settings. With your high resolution display connected to your PC, head to Settings > System > Display.

Here, you’ll see a slider labeled Change the size of text, apps, and other items. With compatible hardware, Windows 10 will attempt to automatically set this value to an appropriate percentage when connected to a high resolution display. However, you can manually adjust it by clicking and dragging the slider. Moving the slider to the left reduces the display scaling percentage, which will make things appear relatively smaller, while moving it to the right increases the display scaling percentage, making things look relatively larger.
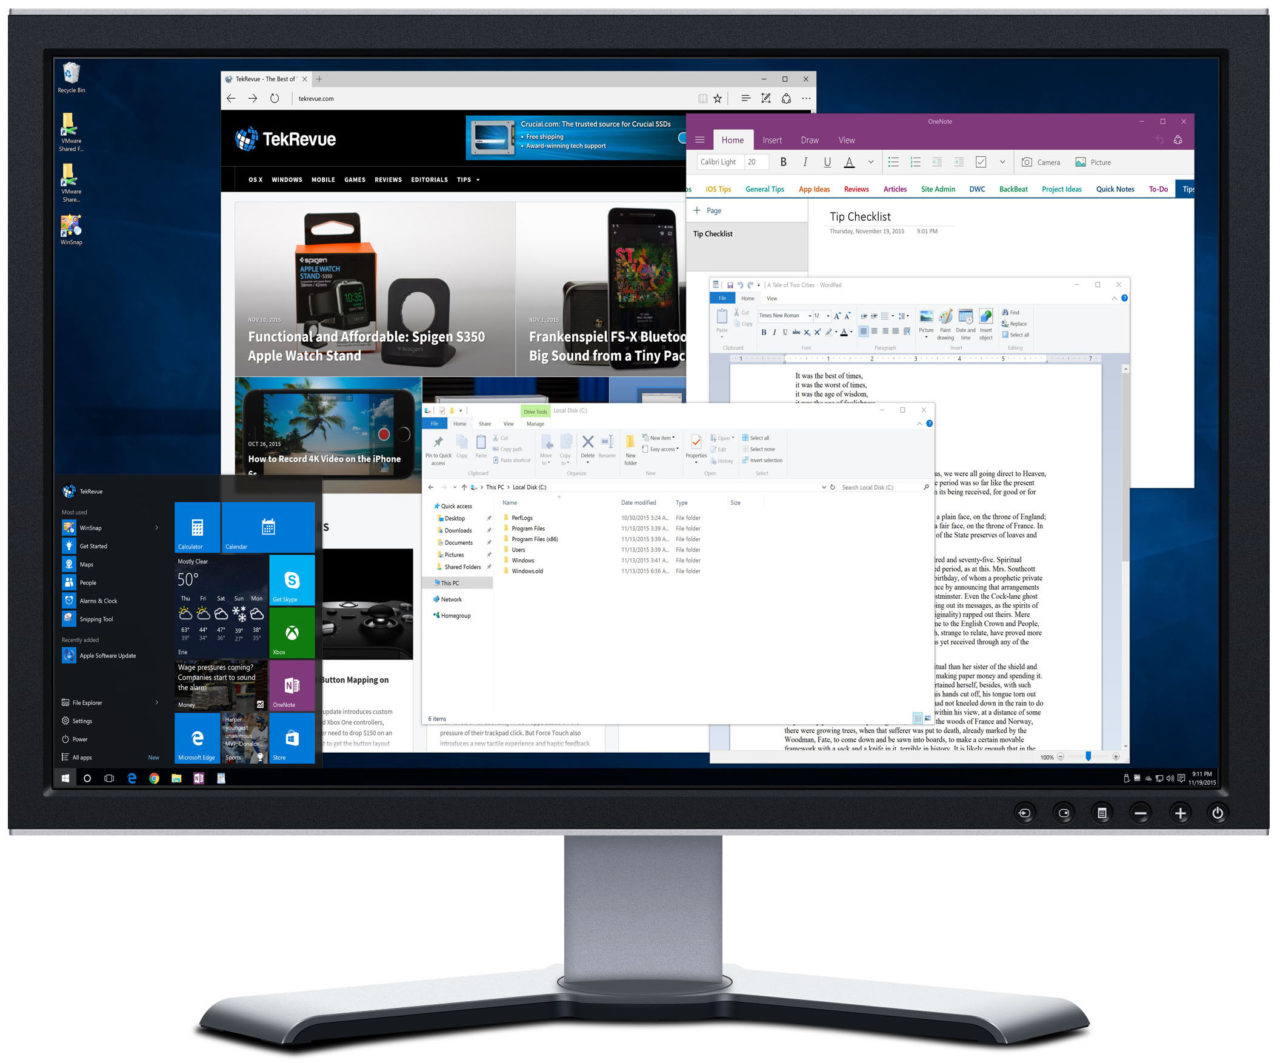
In our example, we’ll move the slider to a value of 150 percent, which will give us a user interface with the same relative appearance as 2560×1440, which is a common and certainly workable resolution on a 27-inch display. To see how the math works out here, notice how 150 percent of 2560×1440 is exactly 3840×2160, our 4K monitor’s native resolution (2560*1.5 = 3840; 1440*1.5 = 2160).

If this scaled image is still too small, we can raise the Windows 10 display scaling percentage even higher. For example, a display scaling value of 200 percent would produce an image that is proportionate to 1080p resolution, or 1920×1080 (again, just check the math to see that 1920*2 = 3840 and 1080*2 = 2160).
The benefit of this configuration is that you end up with a user interface that is the same perceived size as the one you’re accustomed to, except that it’s noticeably sharper because each UI element is being drawn with four times as many pixels as a standard resolution display.
There’s no “correct” answer when it comes to display scaling percentage — the best percentage for each user will depend on the size and native resolution of their monitor, as well as their personal needs or preferences — so feel free to experiment with different values until you find a percent that you’re comfortable with. The only caveat is that you’ll need to log out each time you make a change. You’ll see some elements of the user interface change immediately as you adjust the slider, but Windows 10 requires a complete log out of your user account to switch everything over to the new scaling percentage.
Also note that Windows 10 display scaling isn’t limited to those with high resolution monitors. While the feature is certainly most useful on these large or pixel-dense displays, a user with even a standard resolution monitor can adjust display scaling, too, although raising the scaling percentage too much may make the Windows user interface comically large and unwieldy. If you have experience with OS X, this is similar to a Mac’s HiDPI Mode.


20 thoughts on “How to Manage 4K Display Scaling in Windows 10”
I’m asking because I’m legally blind, and currently using my 1080p on non-native resolution, and it does not look as crisp as I would want because of interpolated half-pixels, but if I went for 4K, I would have much more resolutions to evenly match pixels, if only the display itself could correctly scale the image onto its 4K pixels.
Is there any possibilities to for example, have my normal desktop screen view set up so when I don’t have anything else open & only viewing the desktop or just everything else is minimized my screen resolution could be set at say 1080p or somewhere in that range of low resolutions & then whenever I open any of my specific apps or programs that DO have a built in GUI so meaning that they are able to handle the 4k resolution without looking distorted, I would be able to set the screen resolution to either the full native 4k Resolution of 3840×2160 or somewhere in that upper range of resolutions? Is that at all any kind of possibility either that is native with WIN 10 or my NVIDIA GTX 980m or if not possible with either of those then possibly is there an app or software of somekind that I possibly would be able to do that with?
Thank you so so much in advance to anyone out there that may be able to shed any kind of light in my direction to put me on the path to at least eventually finding a solution to my issue. Thomas Card, tom.lucky13@gmail.com
If I set custom DPI scaling to 125% for the BenQ, then go to the office and connect only the Samsung WQHD monitor, Windows 10 retains the 125% custom display scaling – requiring me to reset display scaling to 100%, log off and log back on. Windows 10 should retain the scaling for each monitor, should it not? How to fix this issue, as resetting display scaling each time I use a different monitor is not a solution.
Can this be fixed some way?
All else scales perfectly. Winamp is too small to see.. :(
I listen to music a lot via Winamp, and a different player is out of the question.
Can I make it scale manually?
Click the main menu -> Window Settings –> scaling –> set it to whatever you want.
I just set it to 300% to test on my 4k screen, it works well.
The other benefit is using display scaling to improve quality at the same effective UI size. This works very well with those smaller high-res displays often found on laptops, and it’s the default approach for companies like Apple. Users get crisp visuals at readable sizes, and still have the option to view things like photos and videos at 1:1 pixel ratios. So there’s really no “right” answer, just user preference.
(Simply not possible on a 1080p screen.)
how do you manage your open windows on your 40 inch screen? do you have a program that positions them?
Examples: Adobe Bridge. all text is micrometric
Visma >Proceedo (uses java and a browser, used for controllers / economics), all text micrometer size
Microsoft Skype: The person displying a presentation has to have a high resultion output. Otherwise everything i like post stamp on my screen.
All professionals have prepared their applications for scaling years ago…
(And no, earning money with something doesn’t make you an professional)
Mary@ app development