Organize Your Windows 10 Start Menu Tiles With Folders

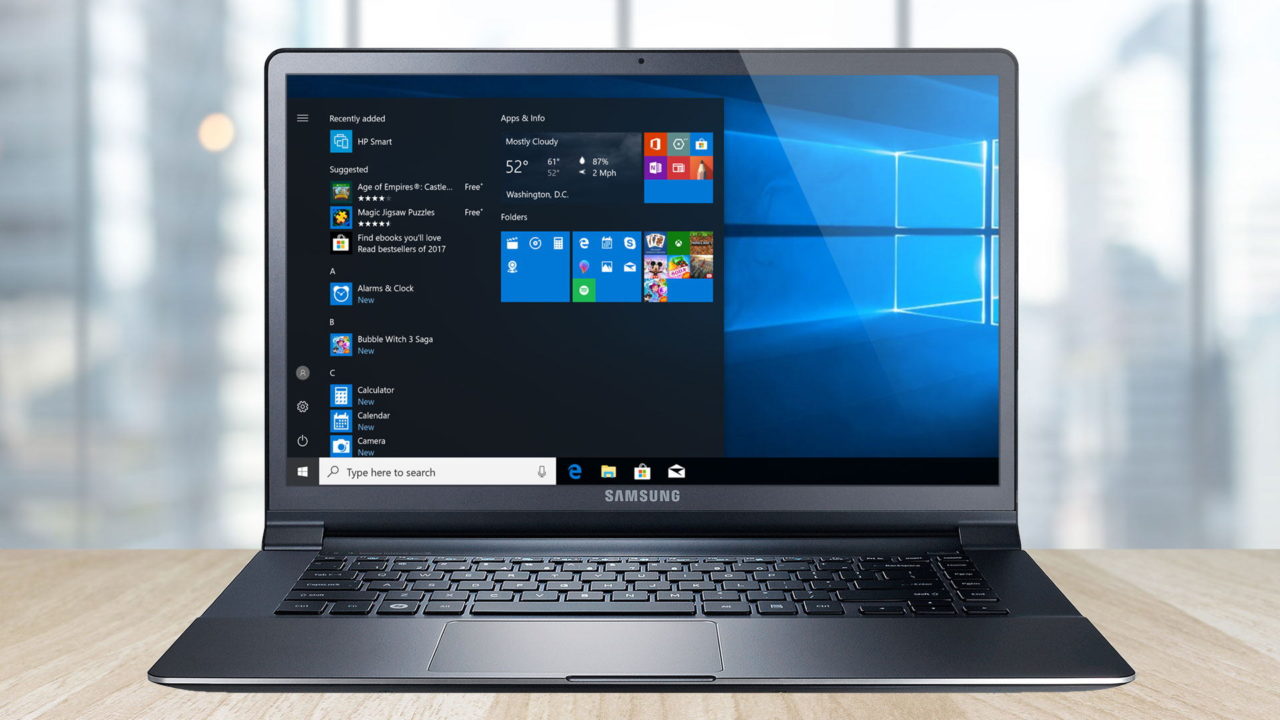
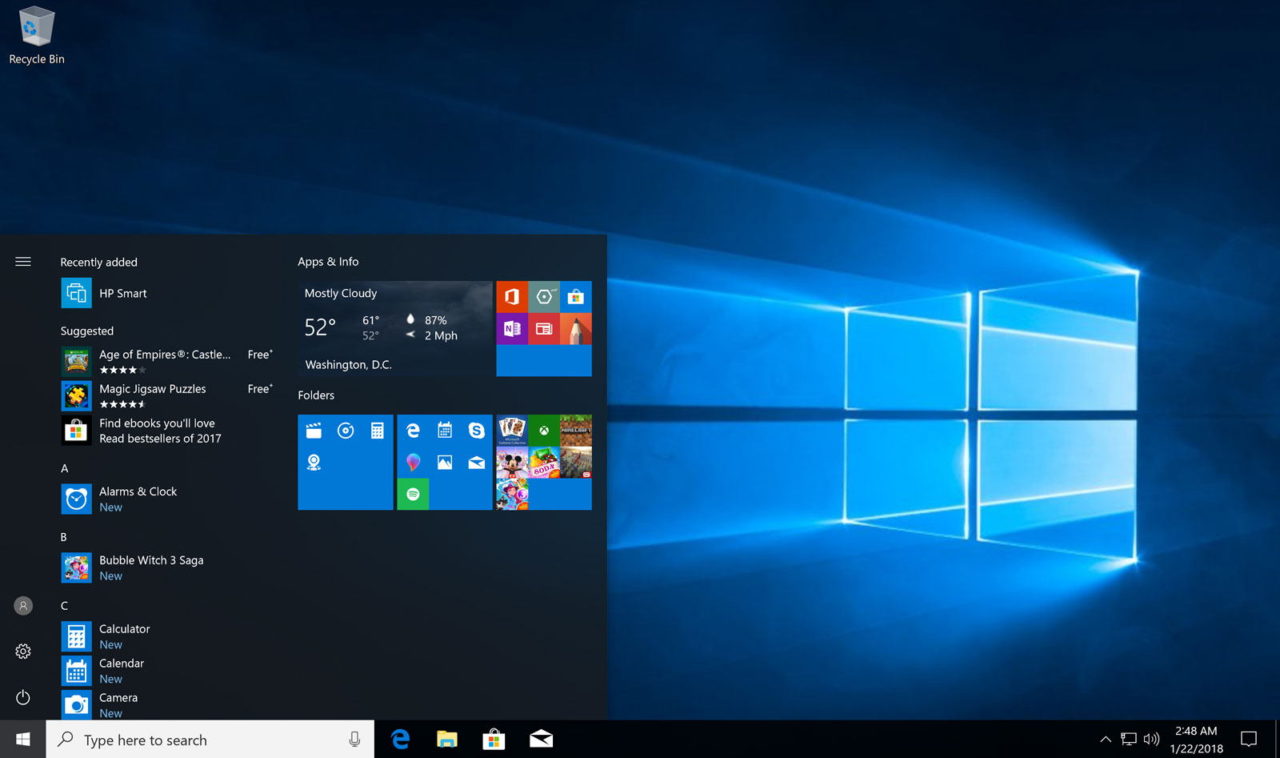
The Windows 10 Start Menu has two parts: a list of all of your apps on the left and a display of tiles for your most frequently used apps on the right. You probably know that you can add or remove tiles, or rearrange them by position or section. But one neat feature that is relatively unknown is that you can also use Start Menu folders for further organization of your tiles.
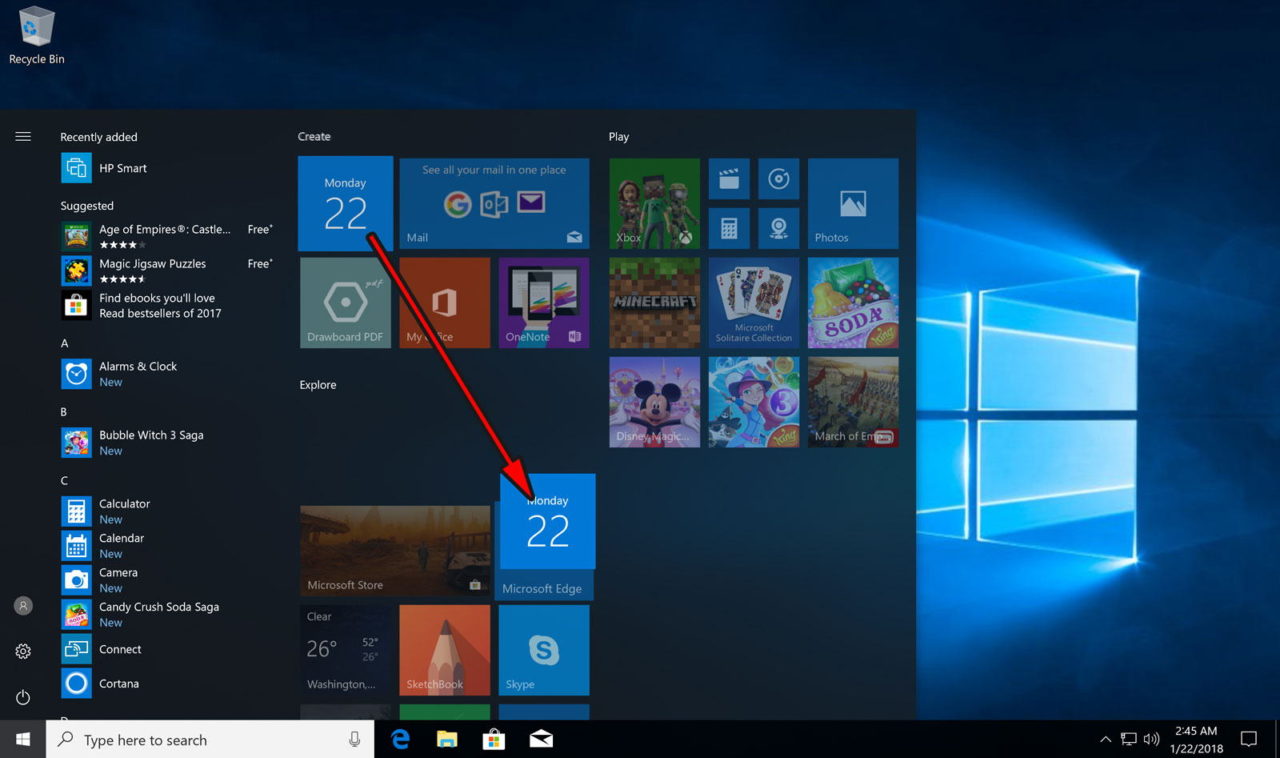
To get started open your Windows 10 Start Menu and take a look at the application tiles on the right. Find two tiles that you’d like to combine into a single folder. In our example, we want to create a folder for the Calendar app and the Microsoft Edge browser. Just click and hold on the first application tile and then drag it over the second tile.

This may be a bit tricky, as the tiles may jump around as if you intend to move them rather than combine them into a folder (indeed, this “click and drag” method is exactly how you move your Windows 10 Start Menu tiles). But if you move your cursor slowly, you should see the tile you’re dragging hover over the target tile. When it does, release your mouse or finger and the app will drop onto the target tile, creating a new folder that contains them both.

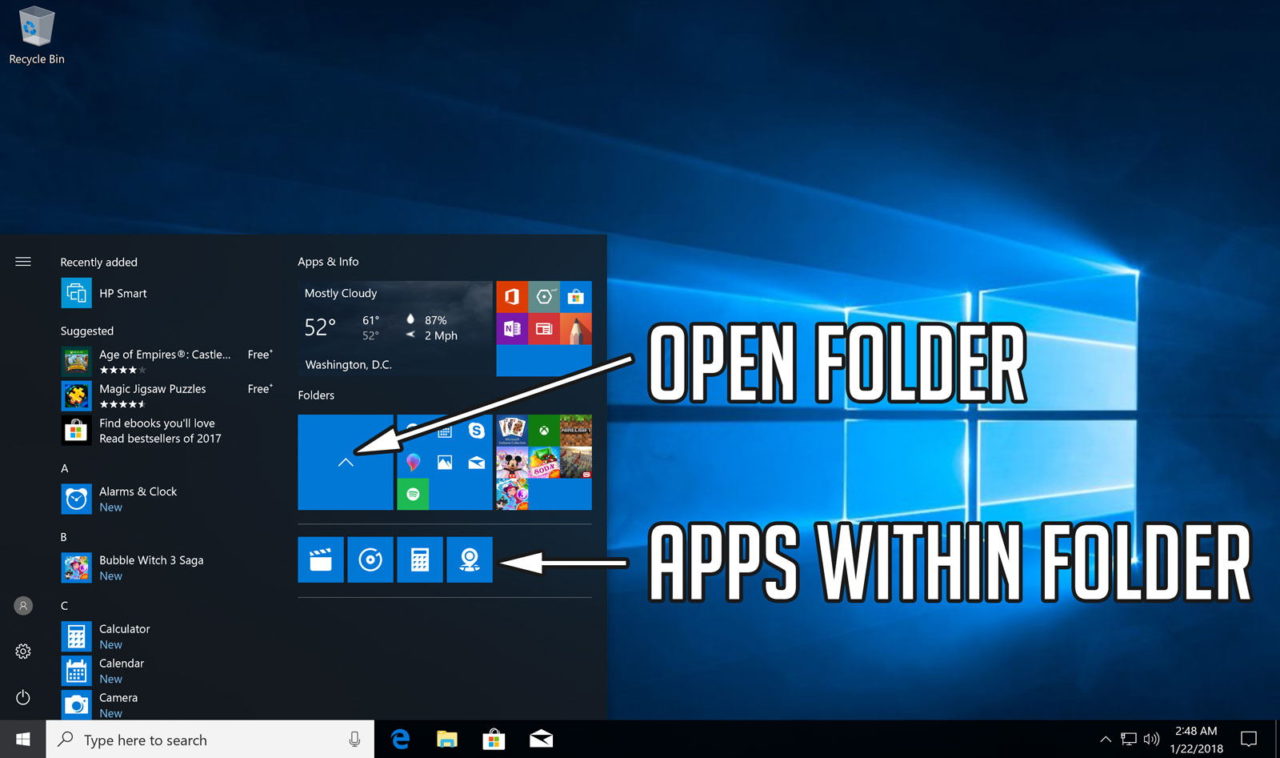
You can add additional application tiles to this new folder, or repeat the process with two different apps to create additional folders. The new folders will display small versions of app icons contained within to help you quickly see which tiles are within each folder. When you click on a Start Menu tile folder, its icon will turn into a downward facing arrow and the tiles within it will be displayed below.

Note that while the Start Menu tile folder will display all icons in their smallest uniform size, the tiles’ original size and layout will still be displayed when you click on a folder to reveal its contents. To remove a tile from a folder, first click on the folder to open it, click and hold on the desired application tile, and then drag it out of the folder to a new location in your Start Menu.
Using Start Menu folders lets you consolidate a lot of application tiles into a much smaller space, allowing you to shrink the size of your Start Menu or add even more application tiles.

As mentioned earlier, it can be a bit tricky to initially get two tiles to line up and create a folder. We found that dragging your first tile slowly into the corner of the second tile often works best. Once a folder is created, however, it’s much easier to add additional application tiles to it.


One thought on “Organize Your Windows 10 Start Menu Tiles With Folders”