How to Fix Windows Update error 0x80070057

Windows Update error 0x80070057 occurred a lot when people were installing the Windows 10 Anniversary Update, but the error has been around a lot longer than that. Fortunately, there are a couple of ways around the error, including an unconventional one that was featured on Microsoft’s own forum. So if you need to fix Windows Update error 0x80070057, read on! We’ll go over three good options.
Fix Windows Update error 0x80070057 – Two Conventional Ways
The error may have been caused by a corrupted file download during an update. To fix this, you can force Microsoft to download a fresh copy of the update by renaming the SoftwareDistribution folder. Here are the steps to do that:
- Type “services” into the Search Windows (Cortana) box and select Services when it appears.
- In the Services window, navigate to the Automatic Updates service and stop it. Leave the Services window open.
- In a new window, navigate to C:\Windows\. Right click the SoftwareDistribution folder and rename it to “SoftwareDistribution.old”.
- Back in the Services window, restart the Automatic Updates service.
This will force the Windows Update process to create a new SoftwareDistribution folder and download a fresh copy of any update files it needs. This should fix the error.
If that doesn’t work, we can use Windows’ Deployment Image Servicing and Management tool, (DISM for short).

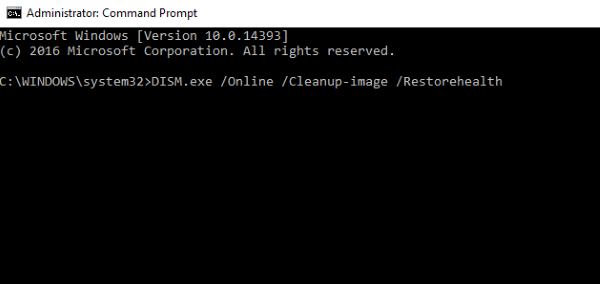
- Open a Command Prompt as an administrator.
- Type “DISM.exe /Online /Cleanup-image /Restorehealth” and hit Enter. Let the process complete. It should tell you what it is doing in the CMD window.
- Once the process is complete, type “sfc /scannow” in the Command Prompt and hit Enter. This will run a process to verify file integrity.
- When that is complete, run Windows Update to see if the error comes up again.

Fix Windows Update error 0x80070057 – The Unconventional Way
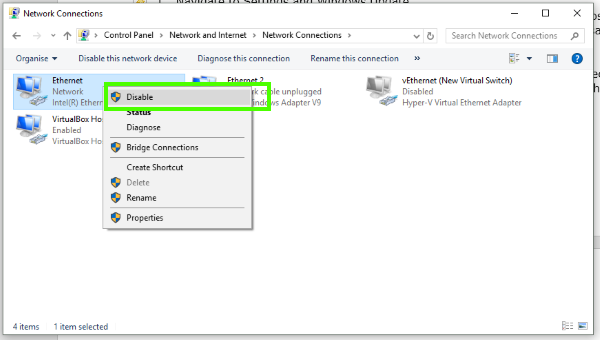
If those fixes don’t work, this unconventional fix from the Microsoft forums could do the trick. You will need to be able to turn your internet connection off and on again, either on your PC itself or by turning off/unplugging your router.
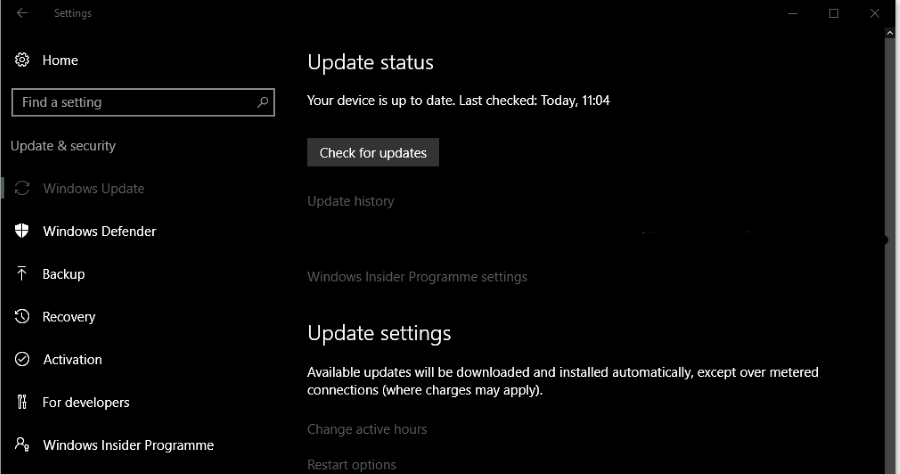
- Navigate to Settings and select Windows Update.
- Click on Check for Updates.
- Click Learn More low down in the right pane. This should take you to the Microsoft website.
- Click on the missing update. If you’re trying to install the Anniversary Update, it will be called Windows10Upgrade28084.
- Download the files from Microsoft.
- As soon as you see the message “verifying files,” turn off your internet connection. Keep an eye on the progress of the update.
- When the update passes 2%, enable your connection again. Do the same if it freezes at 2%.
While these steps reference the Anniversary Update, they will work for any update as long as you can identify the file on the Microsoft website.
Somehow this forces the update to proceed correctly. Despite the odd nature of this fix, it has worked in a huge number of cases.
Have you come up against this error before? Know any other ways to fix it? Let us know below if you have!
If you’re running into other problems with Windows 10, we’ve got more advice for you, from fixing the Windows Update process to reinstalling the operating system.


